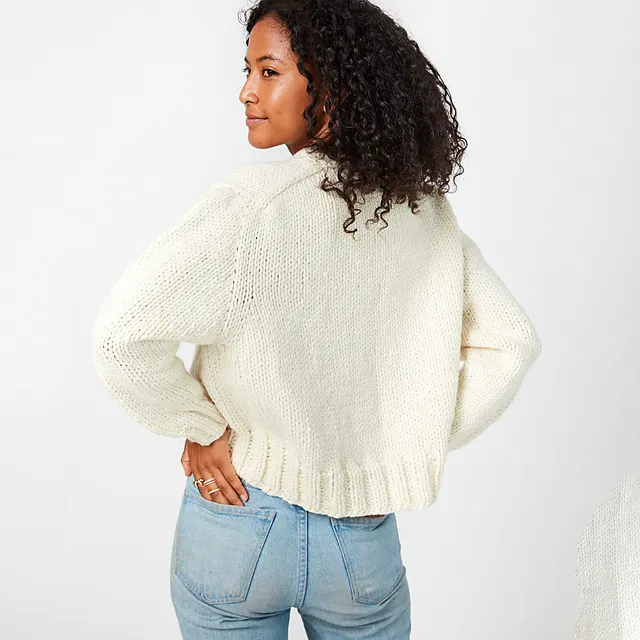
Mabel
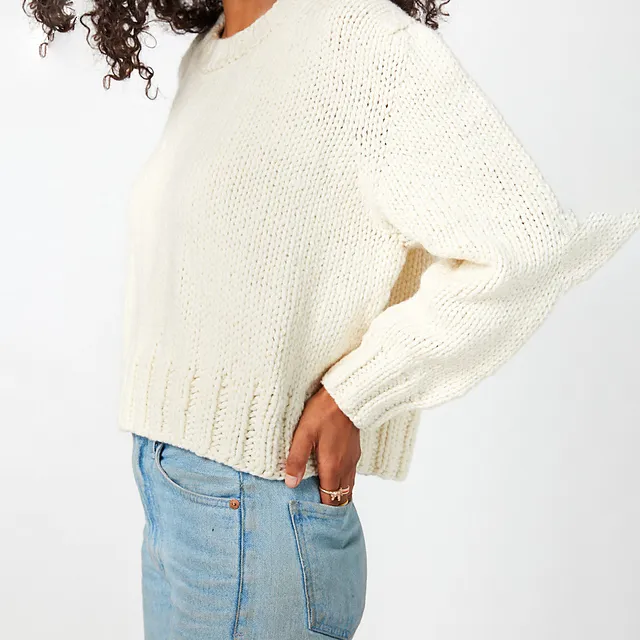
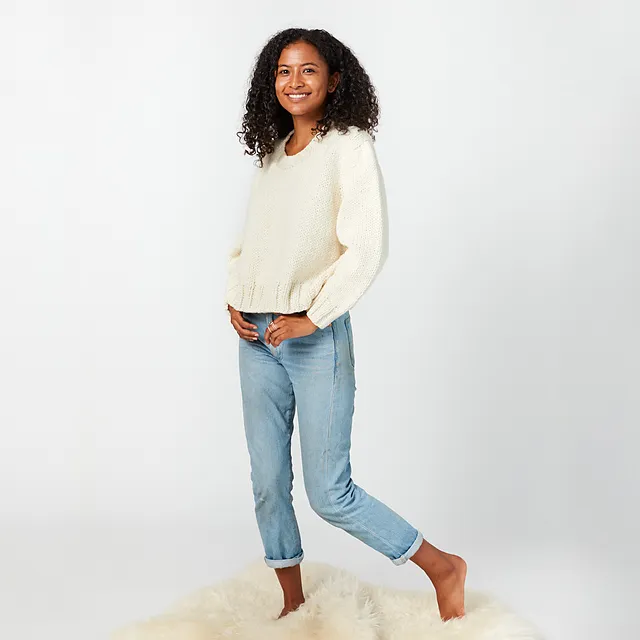
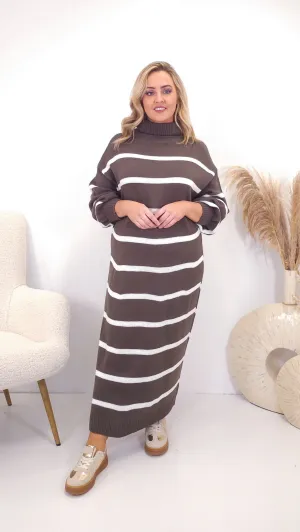
is a loose-fitting, comfortable pullover that fits the bill. She is also infinitely adaptable … try knitting the neck ribbing into a cowl or extra-long fold-over turtleneck. Add cables, split the hem, knit it knee length, add stripes … the sky’s the limit. It is written in 10 sizes from 36 to 72” bust, so you have options for fit, as well!
This sweater is worked using the a commonsense system for knitting seamless, tailored sweaters from the top down. The Cocoknits Method is explained in detail in by Julie Weisenberger.
Size
- Small (Medium, Large, 1X)(2X, 3X, 4X)(5X, 6X, 7X)
- Finished Bust: 36 (40, 44, 48)(52, 56, 60)(64, 68, 72)”/ 91.5 (104.5, 112, 122) (132, 142, 152.5)(162.5, 172.5, 183) cm
- Finished Length: 15.5 (17.5, 19, 20)(21, 21.5, 22.5)(23.25, 24, 25)”/ 39.5 (44.5, 48.5, 51)(53.5, 54.5, 57.5)(59, 61, 63.5) cm
Materials
- : 4(4, 5, 5) (5, 6, 6) (7, 7, 8) balls
- : 3(3, 3, 4) (4, 4, 5) (5, 5, 6) balls OR 4(4, 5, 5) (6, 6, 7) (7, 8, 8) balls
- (or size for tension)
- or long circulars for magic loop (for sleeves)
- or long circulars for magic loop (for sleeve ribbing)
- (for neck ribbing)
- (different colours)
- (optional)
- or scrap yarn
I finished my (knitalong) and I'm reporting back on my progress! All my project details, videos, & etc are .
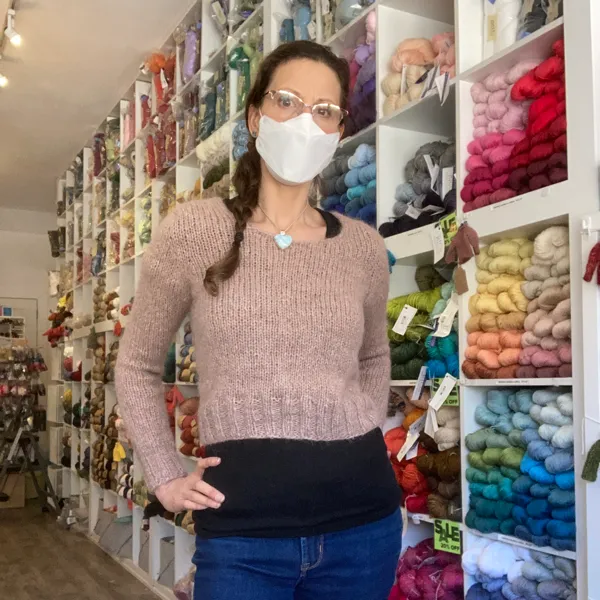
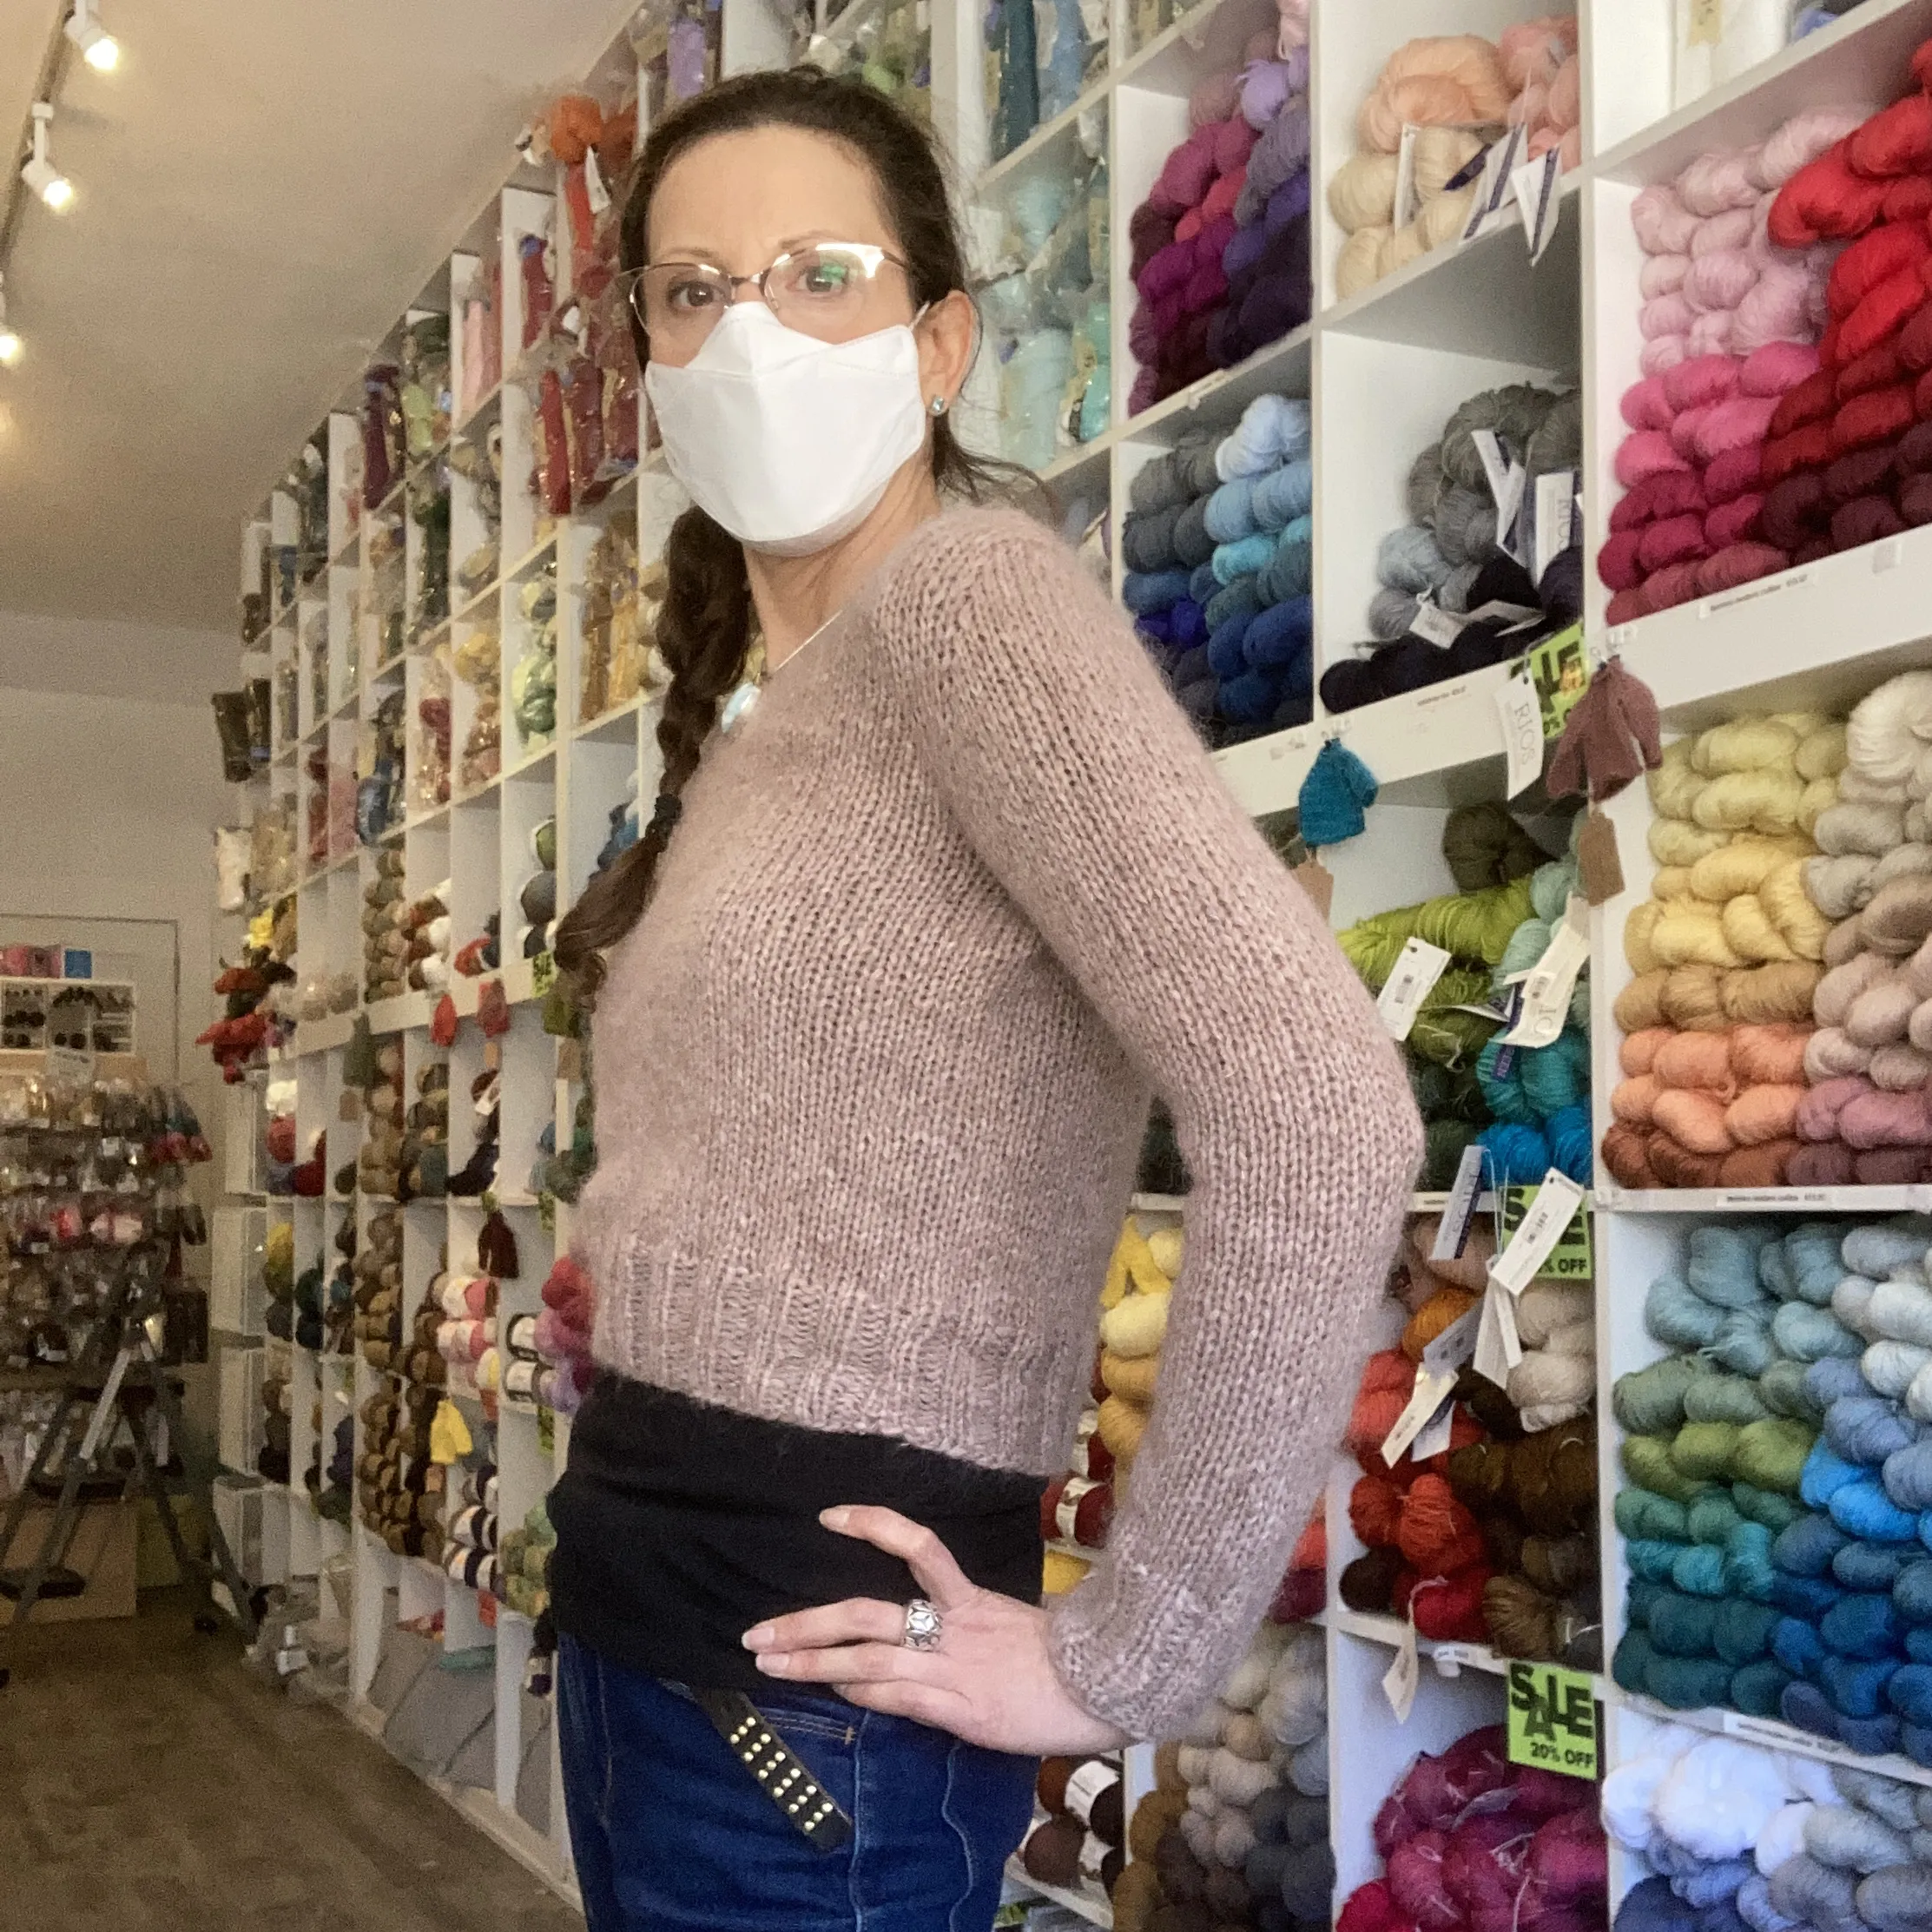
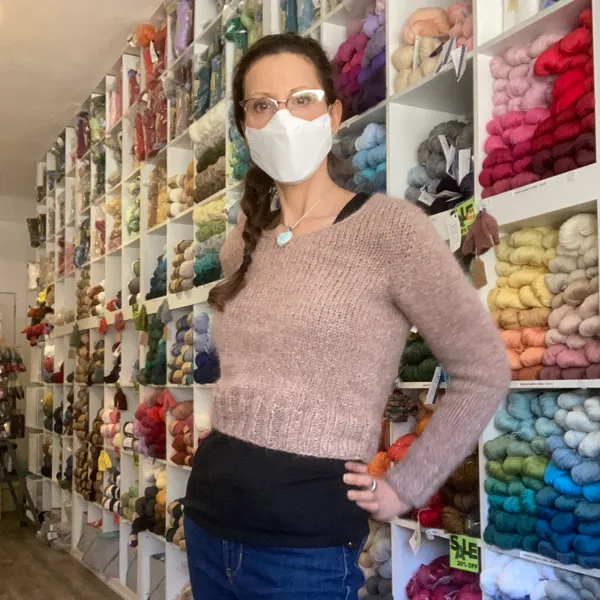
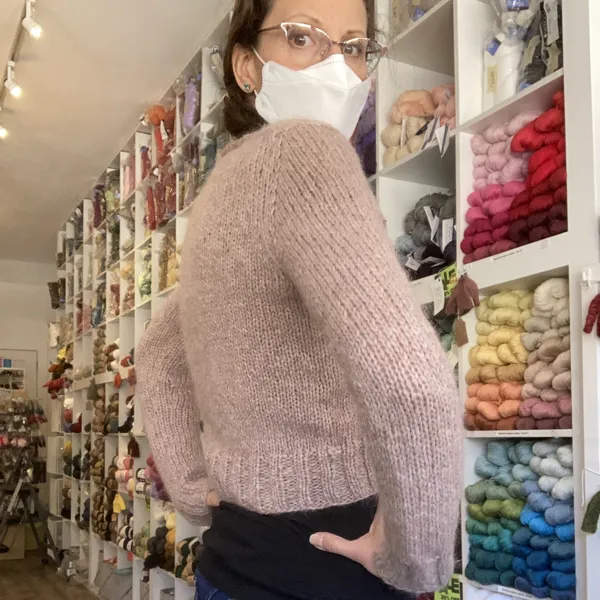
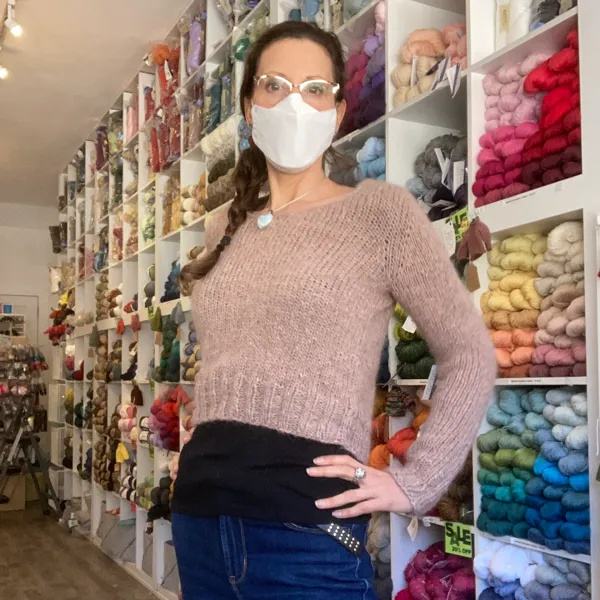
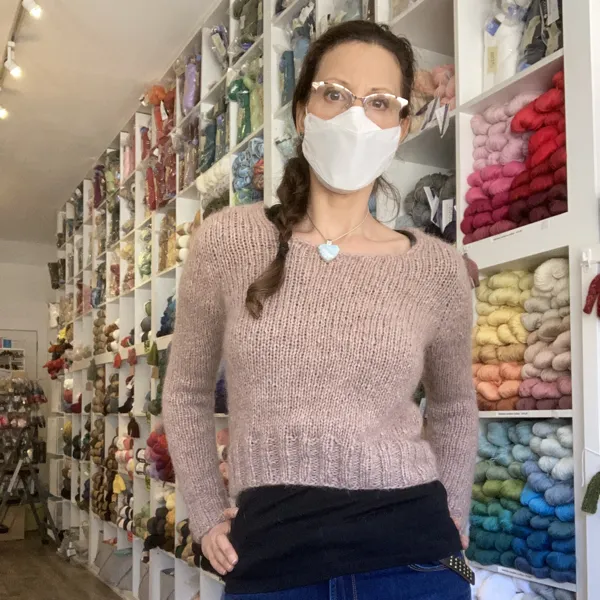
Just to recap, I made the smallest size (which I talk about in the video), and I used (colour 34) & (colour 41) on 6.5mm/US10.5 needles.
Since the last update, I knit the body and the sleeves. I followed the pattern instructions for the sleeves and did the grafted underarm, because I figured maybe I’d learn something new. What I learned was that I still prefer a picked-up underarm, and that I’m not into armpit grafting (that sounds gross, but 'm sticking with it). Here’s a really good video from someone more proficient than me on when you’re ready to pick-up and knit your sleeves. (That said, I left a note on the Cocoknits youtube video and they very kindly got back to me saying that . .... still, too many hoops for me to jump through).
I also knit the body a bit longer because the size was smaller than I expected, and I didn’t bother picking up for the neckline, when I tried it on it seemed to be just right, so I stuck with it. FYI I steam-blocked it with a … quick & easy!
Conclusions
Overall, it was a satisfying knit! I'm nearing the end of my first day wearing it and it's cozy, comfortable, pretty, and it hasn't been itching me. I learned a new technique, and I would definitely make another sweater from . I'm still nodling it aroun, but I think my next might be from the book (I think I figured out that I can get the right tension with and 6.5mm/US10.5 needles, but I'm smacking my head because of course I didn't make any notes for myself in my Ravelry account so I have to go back and double check that. And I need to order more of the yarn too!
P.S.
In the video I mention perfectionism and the workshop
I’ve started my (knitalong) and I’m reporting back on my progress!
After swatching I got gauge and settled on my yarn & main needles size (full disclosure: I don’t think the colour is accurate in the video above/photo below, it looks washed out, but it’s a fleshy kind of colour). The fabric is light and airy, very comfortable and cozy:
- (colour 34)
- (colour 41)
- 6.5mm/US10.5 needles
The first parts of the pattern went smoothly. The pattern was clear and the for the techniques were really good. I’ve been doing the increase type she uses for a long time, just under another name (I know them as RL1, & LL1, she calls them KRL & KLL, PLL & PRL). I’ve never done before, and they were really easy, they might be my new go-to short row technique!
The Cocoknits system works with written instructions with numbers that you plug into her worksheet and then you can just sort of knit following the instructions on your sheet. At first, I felt a bit less intrepid than usual but I figured there must be a reason she was doing things this way, there were lots of positive reviews for it, and I dove in.
When it came to filling in the worksheet I had a hard time learning how to do it from the Cocoknits web tutorial, and I referred to the book to learn. I highly recommend the book, the instructions were excellent and I feel inspired to make one of the sweaters from it next, but I feel like a paid pattern should stand alone and not require you to invest further financially, so I’ve made the video above to show you how I filled in my chart. Since I was already filming, I also work a short row so you can see how that works too.
I’m getting ready for the (knitalong) starting in February!
The sweater is knit with the Cocoknits method, a unique technique for working a sweater seamlessly from the top-down, and I’m curious to finally learn it! I think I’ll make it as a turtle neck …. it gives the shape a bit more substance.
I’ve done my swatching and tried 3 different yarns:
- (colour 34)
- (colour 20)
- (colour 41)
I tried 7mm/US10.75 needles and 6.5mm/US10.5 needles, and got the best gauge by combining & on 6.5mm/US10.5 needles.
In the video I also flip through the pattern … it’s very professional and comprehensive, I’m looking forward to it and I know we will be in good hands!
P.S.
The ring I’m wearing in the video is from . I bought it at the Toronto Outdoor Art Show and LURV it! It’s 3D-printed silver and doesn’t get caught on my yarn when I knit or crochet (an essential quality in my jewellery).


![Battle Armor He-Man (Masters of the Universe) 562 [Damaged: 7.5/10] Battle Armor He-Man (Masters of the Universe) 562 [Damaged: 7.5/10]](https://www.autumngop.shop/image/battle-armor-he-man-masters-of-the-universe-562-damaged-7510_mt7u1u_300x.webp)
